
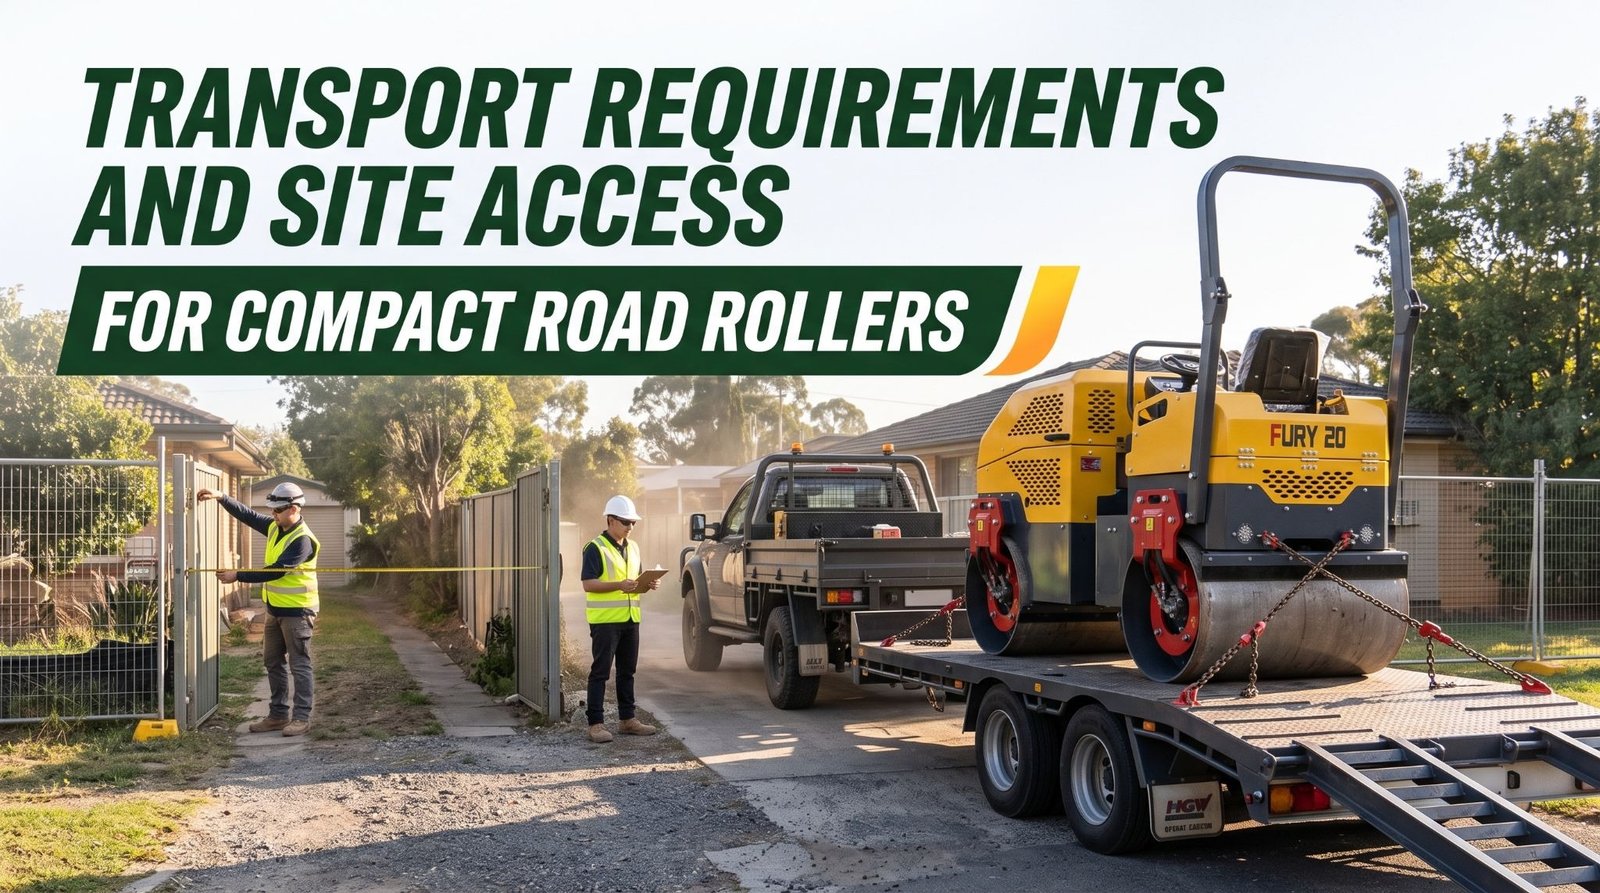
Transport Requirements and Site Access for Compact Road Rollers
Compact road rollers support a wide range of work, from soil compaction and asphalt patching to landscaping, driveways, paths, and smaller paving projects. Their size makes them well suited to residential streets, parking areas, and tight commercial sites where larger compaction equipment cannot work efficiently. That same versatility means these machines move often, sometimes between several jobsites in a single week. Every move depends on careful transport planning and reliable site access.
A roller that arrives late, cannot fit through the site entrance, or has no safe place to unload creates costly delays before compaction even begins. Poorly planned transport can also put the machine, the transport vehicle, nearby property, and the people on site at risk. Transport dimensions, machine weight, loading arrangements, access routes, and ground conditions all play a part in getting the roller from the yard to the work area safely and on schedule.
This guide covers each stage of that process. It explains how to confirm transport dimensions and machine weight, how to plan jobsite access, and how to load and unload safely. It also covers how to assess ground conditions for on-site travel and how to inspect and prepare the roller before and after transport. When contractors verify these details in advance and follow the manufacturer’s instructions, compact rollers arrive ready to work and deliver the dependable performance every paving and compaction project requires.
Understanding Transport Dimensions
Transport dimensions describe the roller’s overall length, width, and height in its designated transport configuration. These figures determine whether the machine fits on the trailer or truck deck, passes through gates and site entrances, and clears overhead obstacles along the route. They form the foundation of every delivery plan, so accuracy matters from the start.
Operating and transport dimensions are not always the same. Drum width describes the compaction path, but the machine’s overall width may be greater once the frame, steps, mirrors, and other components are included. Height can change depending on whether a foldable rollover protective structure, canopy, or beacon is raised or lowered. Some rollers have an articulated frame, which affects overall length and turning behavior. Accessories such as water tanks, edge cutters, chip spreaders, and side guards can also add to the machine’s outline.
Always verify the exact model specifications rather than relying on general figures for a machine class. Review the manufacturer’s documentation for the transport configuration and note any steps required to reach it, such as folding a protective structure or removing a beacon. Where the manufacturer allows a protective structure to be lowered for transport, it must be returned to its operating position and secured before the roller is used again.
Once you have confirmed the roller’s dimensions, add the dimensions of the transport vehicle and trailer. The combined height of the trailer deck and the machine is the figure that must clear bridges, overhead lines, tree branches, and building entrances. The combined length affects turning space, parking, and maneuvering on narrow streets. Measuring both the machine and the complete transport setup prevents surprises once the vehicle is already on the road.
Key takeaway: Confirm the roller’s exact length, width, and height in its approved transport configuration, including accessories, and add the trailer dimensions to understand the full clearance the delivery requires.
Pre-Transport Inspection and Securement
Transporting a compact road roller safely begins with confirming its dimensions, weight, and transport configuration. Check the manufacturer’s specifications to distinguish operating weight from transport weight, and account for attachments, accessories, and any equipment carried with the machine. Verify that the trailer, ramps, and towing vehicle have sufficient rated capacity for the complete load before transport begins.
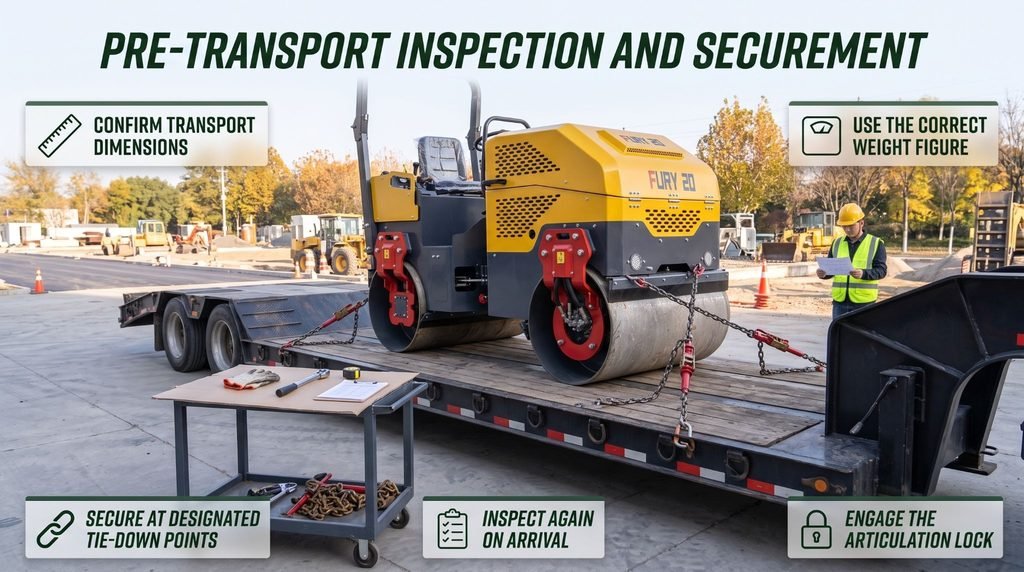
Prepare the roller by removing loose tools and debris, securing movable components, and protecting hydraulic fittings as specified by the manufacturer. Engage the articulation lock when required for transport, and secure the rollover protective structure in its approved transport position. Attach rated chains or tie-downs to the designated securement points, following the manufacturer’s instructions and applicable transport regulations.
Once securement is complete, inspect the chains, binders, connection points, and trailer setup before departure. Check the load again after arrival and before unloading, looking for loosened restraints or movement during transit. Confirm that the unloading area is stable and that the machine can be removed safely.
Key takeaway: Verify transport weight and dimensions, follow the approved transport configuration, and inspect every tie-down before departure and arrival to help prevent load movement and transport-related damage.
Checking Machine Weight
The roller’s weight affects nearly every part of the transport plan. It determines the type of transport vehicle and trailer required, the ramps that can be used, the loading surface needed, and the securement equipment that will hold the machine in place. Compact rollers are designed to be dense and heavy for their size, since weight contributes directly to compaction performance. A machine that looks small can still place significant demands on transport equipment.
Manufacturers may publish several weight figures, such as operating weight, shipping weight, or weight with specific options installed. These figures can differ depending on what they include, such as fuel, water in the spray tank, an operator, or accessories. Use the figure that matches the machine’s actual transport condition. A full water tank, for example, can add noticeable weight, so check whether the manufacturer recommends draining it for transport and whether freezing temperatures make draining necessary.
Add the weight of any additional equipment carried during delivery. Plate compactors, hand tools, fuel containers, edge cutters, and spare parts all count toward the total load. Each item must also be properly secured so it cannot shift or fall during travel.
The combined load must remain within the rated limits of every component in the transport setup. Check the trailer’s rated capacity, axle ratings, deck capacity, and ramp ratings, as well as the towing vehicle’s permitted towing and tongue weight limits. Position the roller on the trailer so the weight is distributed correctly between the axles, following the trailer and vehicle manufacturers’ guidance. An overloaded or poorly balanced trailer can affect braking, steering, and stability on the road, and it may not comply with applicable transport requirements.
Key takeaway: Use the weight figure that matches the roller’s actual transport condition, add every item carried with it, and keep the combined load within the rated limits of the vehicle, trailer, ramps, and securement equipment.
Safe Loading and On-Site Access
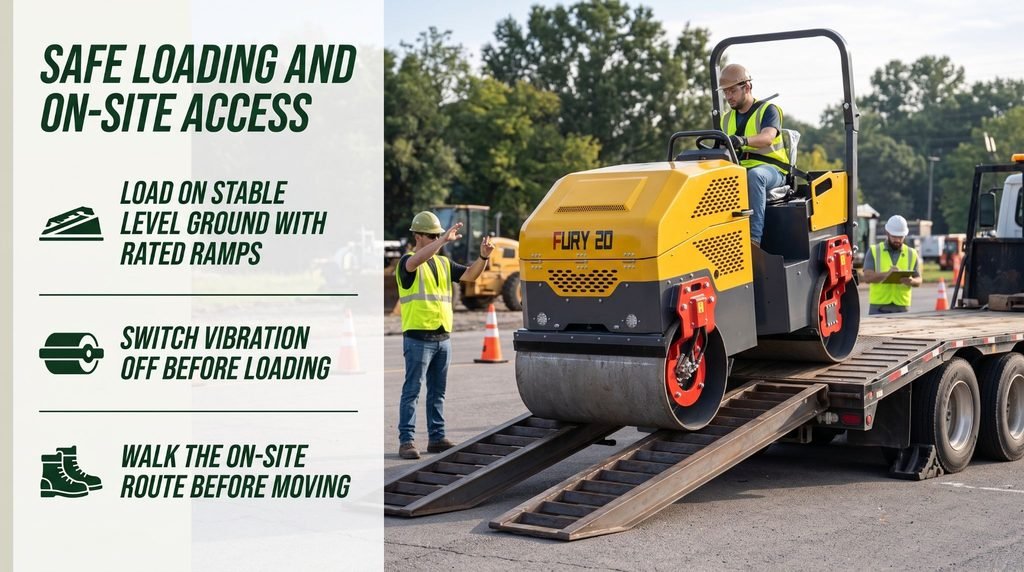
Loading a compact road roller requires a stable staging area, suitable ramps, and a clear path onto the trailer. Position the trailer on firm, level ground, confirm that the ramps are rated for the machine’s weight, and secure them according to the trailer manufacturer’s instructions. Check ramp alignment, surface condition, and available clearance before moving the roller.
Before loading, switch vibration off and follow the manufacturer’s instructions for travel mode, articulation, and other transport-related controls. Keep the roller aligned with the ramps, move slowly, and avoid sudden steering or braking inputs. A trained spotter can help guide the maneuver from a safe position with a clear view of the operator, while all other personnel remain outside the loading zone.
On-site access also deserves attention before the machine leaves the transport area. Walk the planned route to identify narrow gates, overhead obstacles, uneven surfaces, soft ground, and areas with limited turning space. Measure clearances and remove obstructions where possible before moving the roller into the work zone.
Key takeaway: Use rated, properly secured ramps, keep vibration off during loading, and check the access route before moving the roller to reduce loading hazards and prevent site-access problems.
Loading and Unloading Procedures
Loading and unloading are among the highest-risk moments in moving a compact roller. The machine travels up or down an incline onto a narrow surface, with limited margin for steering errors. A slipping drum, a misaligned ramp, or an unsecured trailer can cause the roller to tip or fall. Careful preparation and a consistent procedure keep this step controlled.
The loading area should be stable, level, and clear of pedestrians and unnecessary equipment. Park the transport vehicle on firm ground, set its parking brake, and chock the wheels where required. Make sure the trailer is properly connected and supported so it cannot tilt or shift as the roller’s weight moves onto it. Keep everyone outside the loading zone and away from the sides and rear of the trailer while the machine is moving.
Ramps must be rated for the roller’s weight and suitable for its drum and wheel configuration. Position them at the spacing that matches the machine’s track width, and secure them to the trailer so they cannot slide or separate. Check that ramp surfaces are clean and free of mud, oil, ice, or water, since a smooth steel drum can lose grip quickly on a slippery surface. Confirm that the ramp angle falls within the manufacturer’s limits for the machine.
Follow the manufacturer’s loading instructions for travel direction, speed, and drive or vibration settings. Vibration must be switched off during loading and unloading. Drive slowly and steadily, keep the machine aligned with the ramps, and avoid steering corrections while on the incline. Use a trained spotter when the operator cannot clearly see the ramps and trailer edges, and agree on hand signals before the machine moves. If the machine begins to slip or drift out of alignment, stop, assess the situation, and correct it before continuing.
Never improvise a loading method when the approved procedure cannot be followed. Using unrated ramps, stacked blocks, or a loading bank of uncertain strength puts the operator and bystanders at serious risk. Unloading at the jobsite deserves the same care, using the same procedure in reverse on a stable, level surface.
Key takeaway: Load and unload on stable, level ground using rated, secured ramps, follow the manufacturer’s procedure with vibration off, keep people clear, and never improvise when the approved method cannot be used.
Ground Conditions and On-Site Mobility
Once the roller is unloaded, it must travel from the unloading point to the compaction area. That route may cross lawns, gravel, soft soil, curbs, sidewalks, or freshly prepared base material. Every surface along the way must be capable of supporting the machine’s weight, which is concentrated on a relatively small contact area under the drums or wheels.
Soft soil and saturated ground can allow the roller to sink, especially near trench backfill, recently disturbed areas, and spots where water collects. Steep access routes can affect traction and braking, and a smooth steel drum may lose grip on wet grass, loose gravel, or muddy surfaces. Loose debris, curbs, and uneven ground can jolt the machine or shift its balance. Edges of excavations, embankments, retaining walls, and drop-offs require particular care, since the ground near an edge can give way under concentrated weight.
Walk the travel route before moving the machine. Identify soft areas, slopes, obstacles, edges, and any surfaces that may be damaged by the roller, such as decorative paving, irrigation heads, or finished landscaping. Confirm that slopes along the route fall within the manufacturer’s limits for travel, and plan to travel straight up and down slopes rather than across them. Rollers can tip on side slopes, particularly near edges or when one drum drops into a soft spot.
Travel slowly and keep vibration off while moving to the work area. Wear the seat belt and keep the rollover protective structure in its operating position where fitted. Keep pedestrians and other workers clear of the route, and use a spotter where visibility is limited or the path is narrow. Where the route cannot safely support the roller, change the plan by using protective mats, choosing a different path, or unloading closer to the work area. Reassess the route throughout the day, since rain and site traffic can change ground conditions quickly.
Key takeaway: Inspect the on-site travel route for soft ground, slopes, edges, and obstacles before moving the roller, travel slowly with vibration off, and change the route when the surface cannot safely support the machine.
Transport Inspections and Preparation
A thorough inspection before transport confirms that the roller is fit to travel and ready to work on arrival. Inspect the machine on firm, level ground with the engine off and the parking brake applied. Check tires or drums for damage, buildup, and correct inflation where applicable. Test the steering, service brake, and parking brake, and inspect the articulation joint, securing points, and frame for cracks or damage.
Look over the hydraulic system for leaks, damaged hoses, and loose fittings. Never check for leaks by running your hand along a hose, since pressurized fluid can penetrate skin and cause serious injury. Use a piece of cardboard instead. Check fluid levels and the water spray system, and drain the water tank where the manufacturer recommends it or where freezing temperatures are expected. Remove loose tools, mud, and debris that could fall off during travel.
Prepare the roller according to the manufacturer’s transport procedure. This may include engaging the articulation lock, lowering a foldable protective structure, removing or folding accessories, and setting the parking brake. Once the machine is in position on the trailer, secure it using the designated tie-down points and suitable restraints rated for the load:
- Tie-down points: Use only the securing points the manufacturer designates, never steering components, hydraulic lines, or other parts not intended for restraint.
- Restraints: Use chains, binders, or straps rated for the machine’s weight, and inspect them for wear, damage, and correct tension.
- Restraint angles: Arrange restraints as directed to prevent forward, rearward, and sideways movement.
- Loose equipment: Secure accessories and additional items separately so they cannot shift during braking or turning.
Check the security of the load before departure and recheck restraints after a short distance and at intervals required by applicable transport requirements. Restraints can loosen as the load settles during travel. After arrival, inspect the roller for any damage that may have occurred in transit, remove restraints carefully, and complete the full pre-operation checks before beginning work. Report any defects and keep the machine out of service until they are corrected.
Key takeaway: Inspect brakes, steering, drums, hydraulics, and securing points before transport, prepare the roller using the manufacturer’s procedure, secure it with rated restraints at designated points, and inspect it again on arrival.
Conclusion
Transport requirements and site access determine whether a compact road roller reaches the work area safely, efficiently, and ready to perform. Accurate transport dimensions confirm that the machine and trailer clear every gate, entrance, and overhead obstacle, while the correct weight figure ensures the vehicle, trailer, ramps, and restraints are suitable for the load. Advance access planning prevents delays at the site entrance, and a disciplined loading and unloading procedure keeps the most hazardous part of the move under control. Careful assessment of ground conditions protects the machine and the surrounding property during on-site travel, and thorough inspection and preparation make sure the roller travels securely and arrives in working condition.
When you verify dimensions, weight, loading arrangements, and route conditions before every delivery and follow the manufacturer’s instructions throughout, your compact road roller arrives on time and delivers the reliable compaction results your projects depend on.
FAQs
What information is needed before transporting a compact road roller?
Confirm the roller’s transport dimensions, the weight figure that matches its actual transport condition, the loading requirements, trailer and towing capacity, and the access conditions at the destination, including gate width, overhead clearance, and unloading space.
Why does roller weight matter during transport?
The transport vehicle, trailer, axles, ramps, and securement system must all be rated for the machine’s weight. Exceeding these limits or distributing the load poorly can affect braking, steering, and stability and may not comply with applicable transport requirements.
What should be checked before unloading?
Verify that the unloading area is stable, level, clear of people, and large enough for the ramps and the roller to move clear. Confirm that the ramps are rated, secured, and free of mud, water, or ice, and that the approved loading method can be followed.
Can a compact roller travel over any jobsite surface?
No. Ground strength, slope, edges, obstacles, and the manufacturer’s travel limits determine whether a route is suitable. Soft or saturated ground, steep slopes, and areas near excavation edges may require a different route, protective mats, or a closer unloading point.